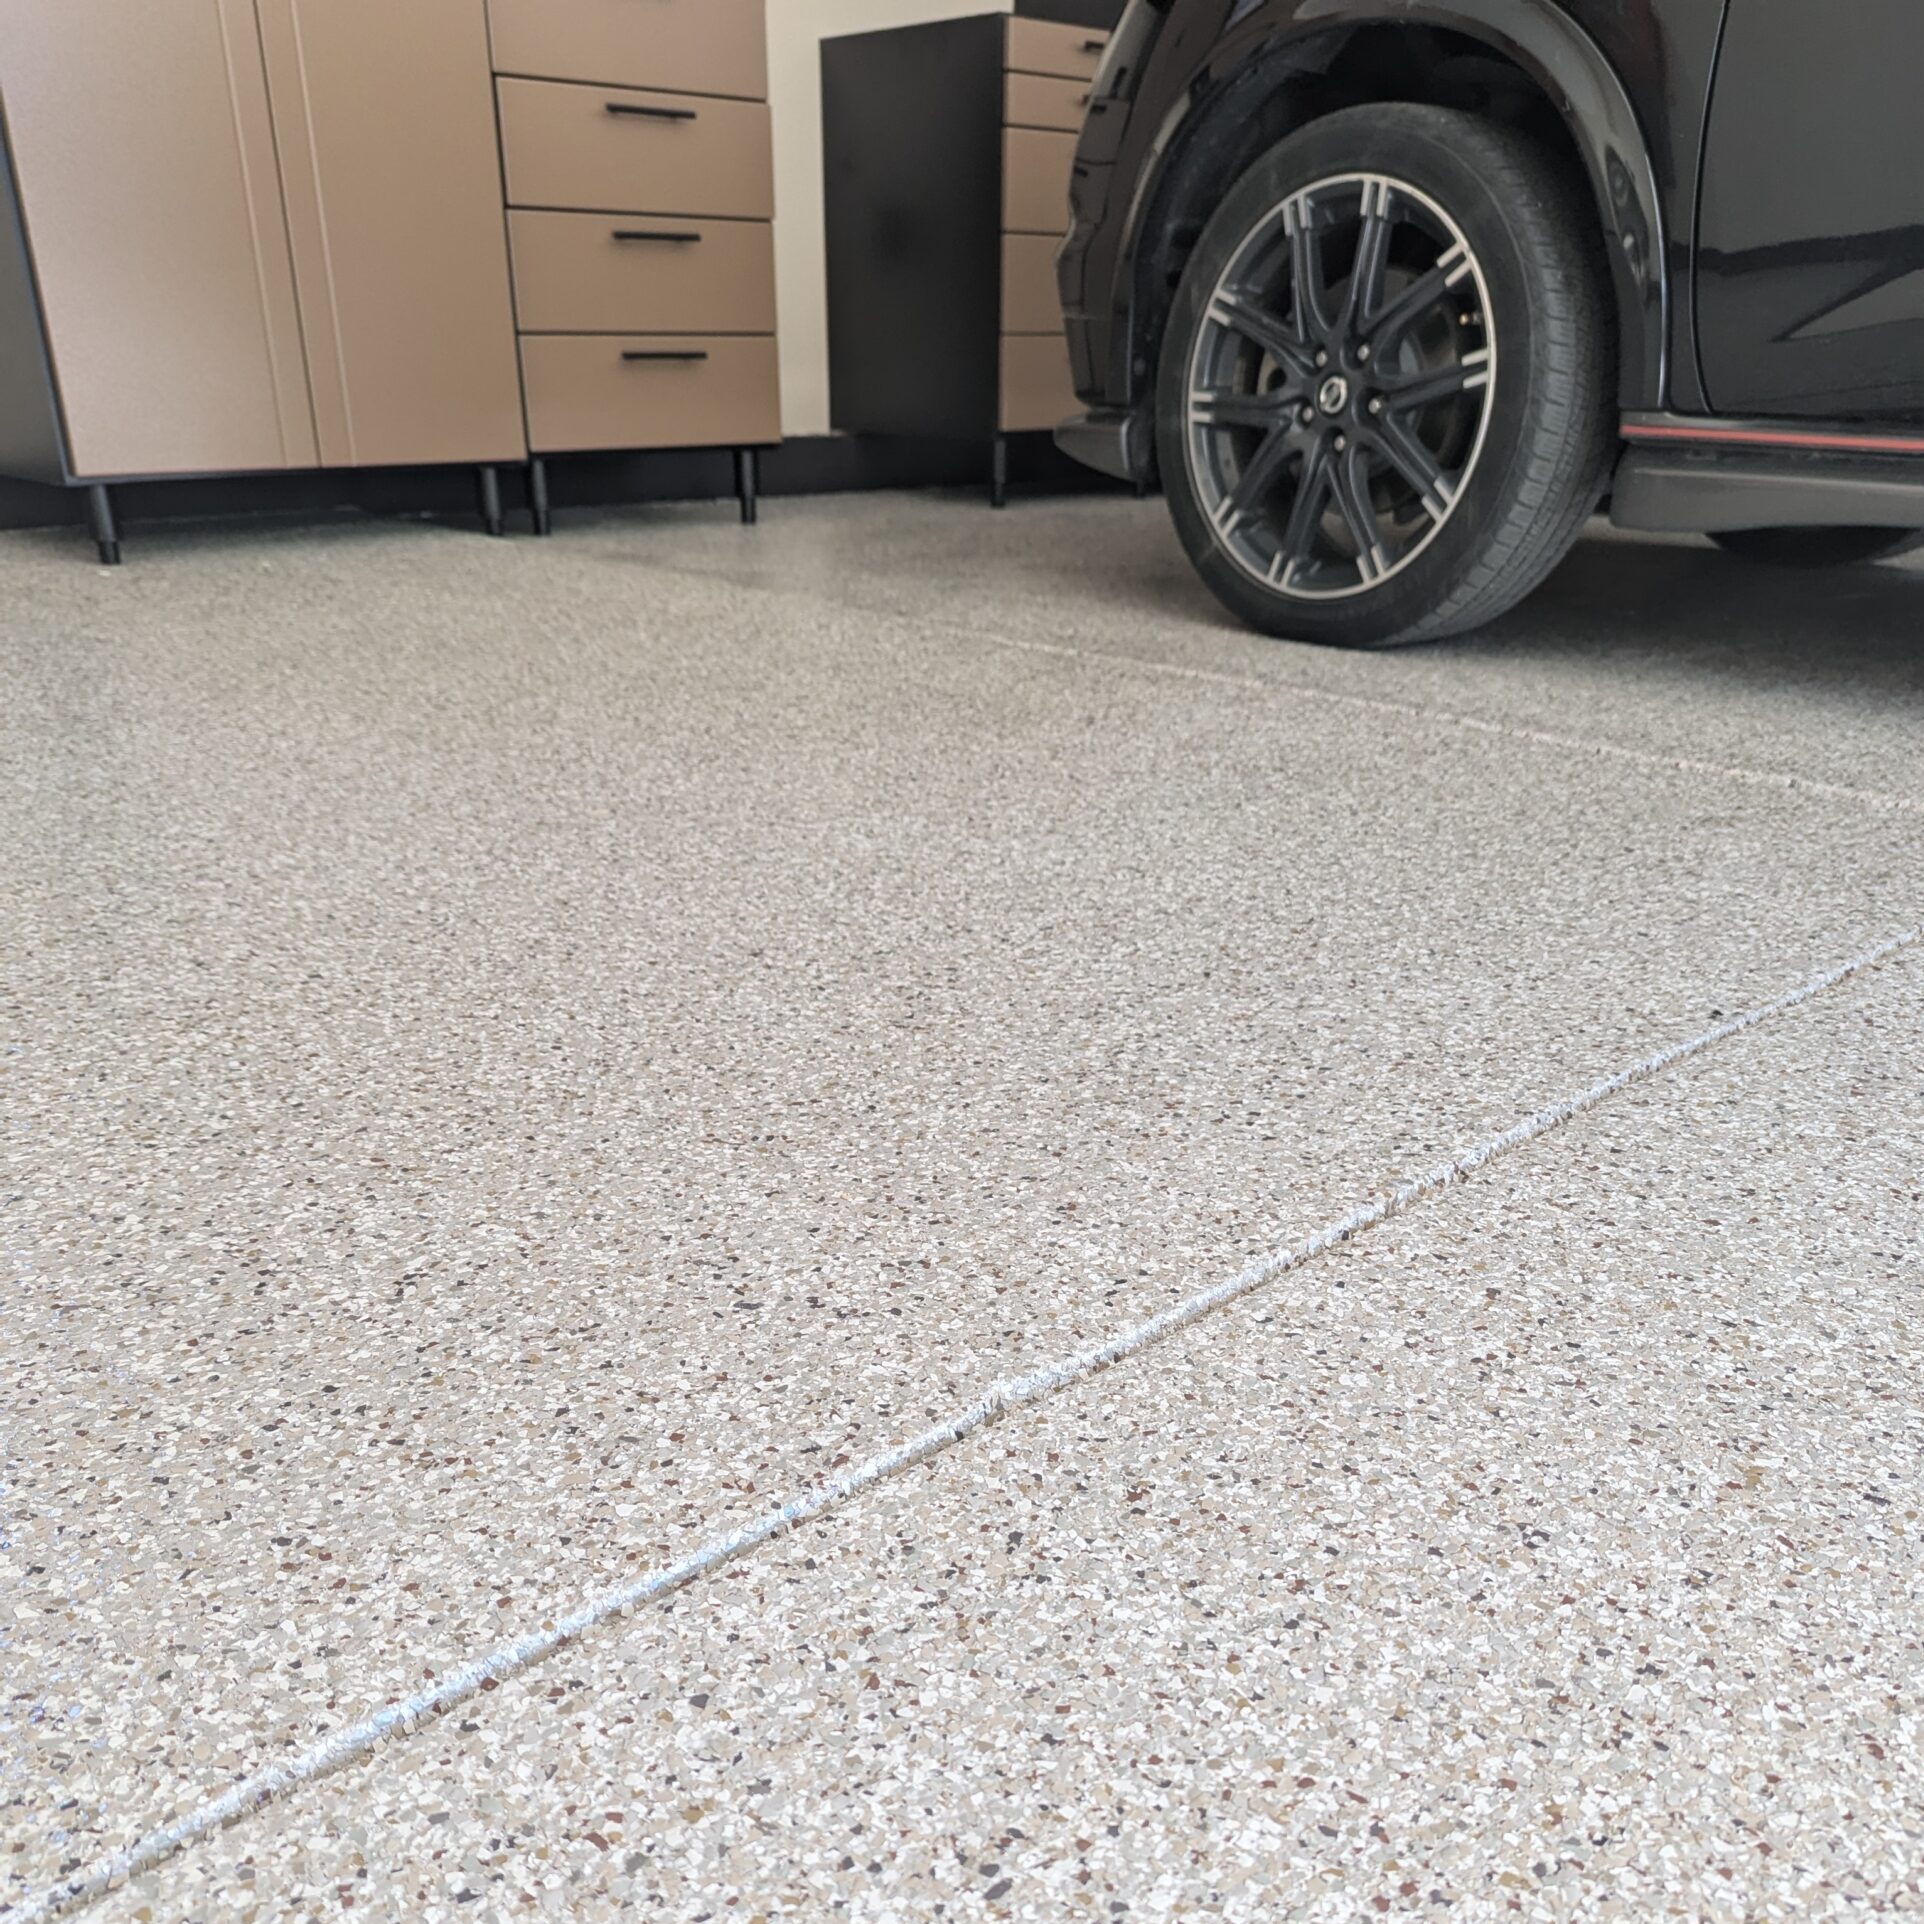
Polyaspartic Flooring
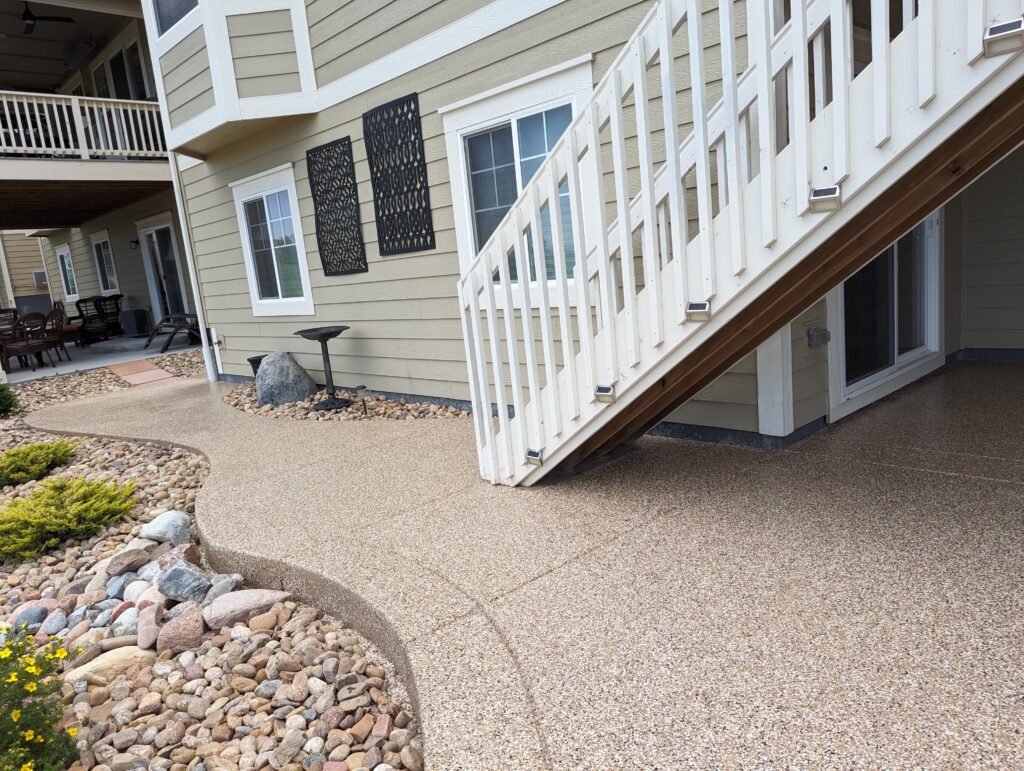
Garages | Basements | Patios | Walkways | Commercial Spaces
Transform Your Space with Durable Polyaspartic Flooring


The Ultimate Defense for Your Floors
NuWave Garages offers customized Polyaspartic concrete coating solutions for property owners across the greater Denver/Metro, Front Range, and Northern Colorado areas. We specialize in transforming ordinary concrete floors into beautiful, resilient surfaces that enhance the functionality and appeal of your home.
Key Benefits of Polyaspartic Flooring
- Durable yet Flexible: Combines the strength of traditional epoxy with added flexibility, allowing it to resist cracking and chipping while adapting to the natural movements of your home.
- Superior Chemical Resistance: Protects your floors from damaging substances like magnesium chloride and road salt, preventing concrete damage and ensuring long-lasting durability.
- Mold & Mildew Resistant: Keeps your space cleaner and healthier by preventing the growth of harmful organisms.
- Resilient and Enduring: Designed to handle heavy traffic, extreme temperatures, and demanding environments.
- Non-Porous and Waterproof: Protects against moisture, spills, and leaks, ideal for basements, patios, and garages.
- Slip-Resistant: Provides added safety in high-traffic areas. For spaces with a higher likelihood of moisture, like patios, we offer an additive that increases slip resistance even further.
- Hot-Tire Resistant: Won’t peel or discolor due to heat from vehicle tires.
- UV Stable: Won’t yellow or fade over time, keeping your floors looking fresh and new.
- Easy to Clean & Maintain: No special tools required—just a simple sweep, light mop, or quick spray-down easily takes care of dirt and debris.
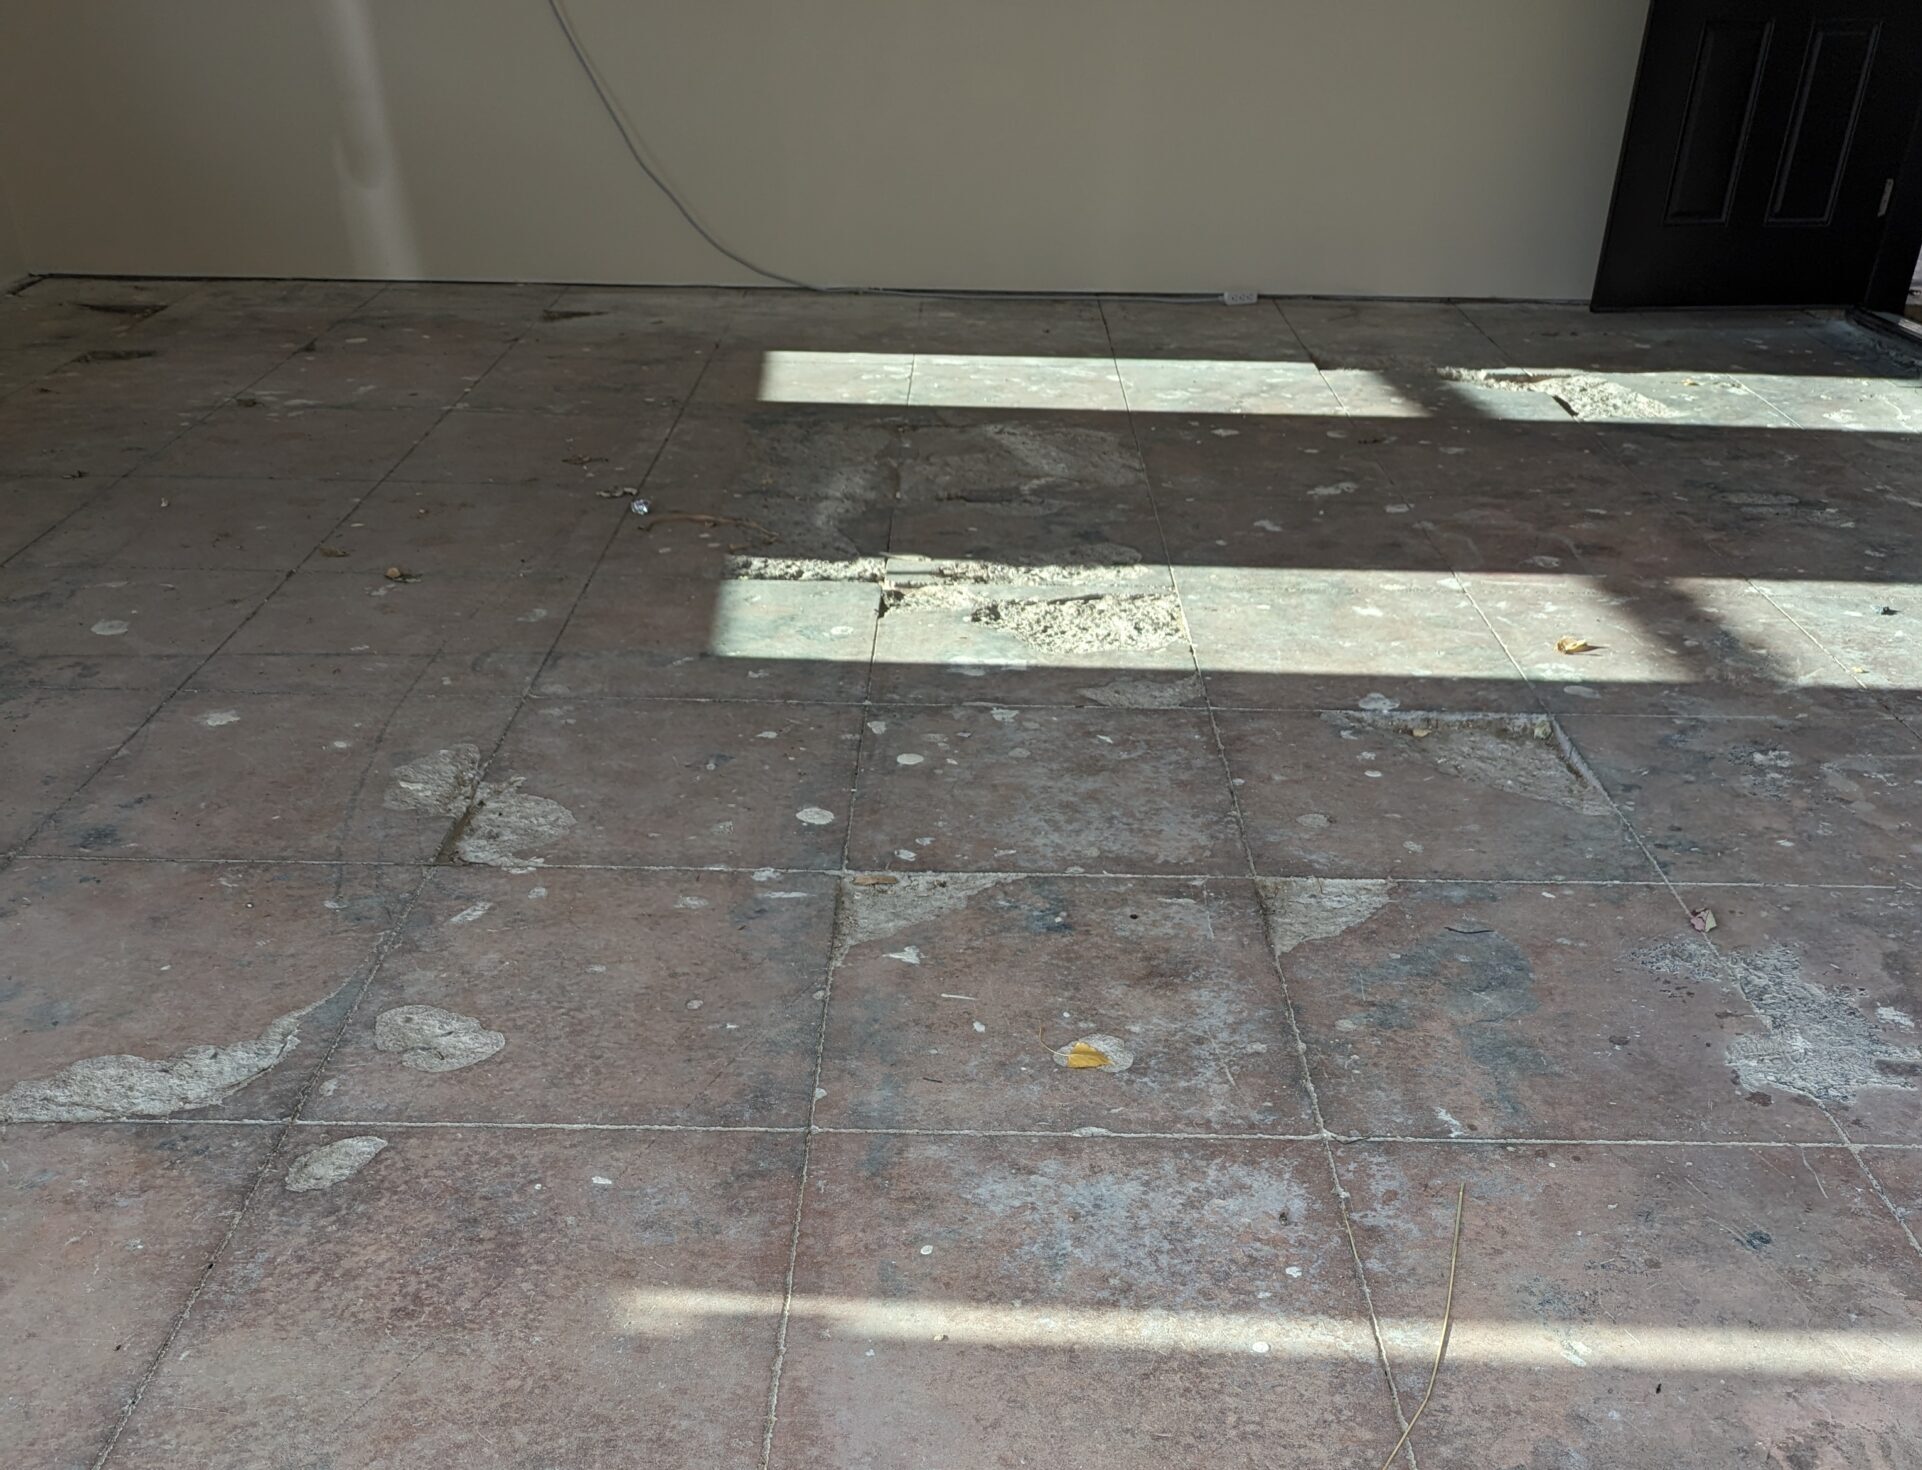
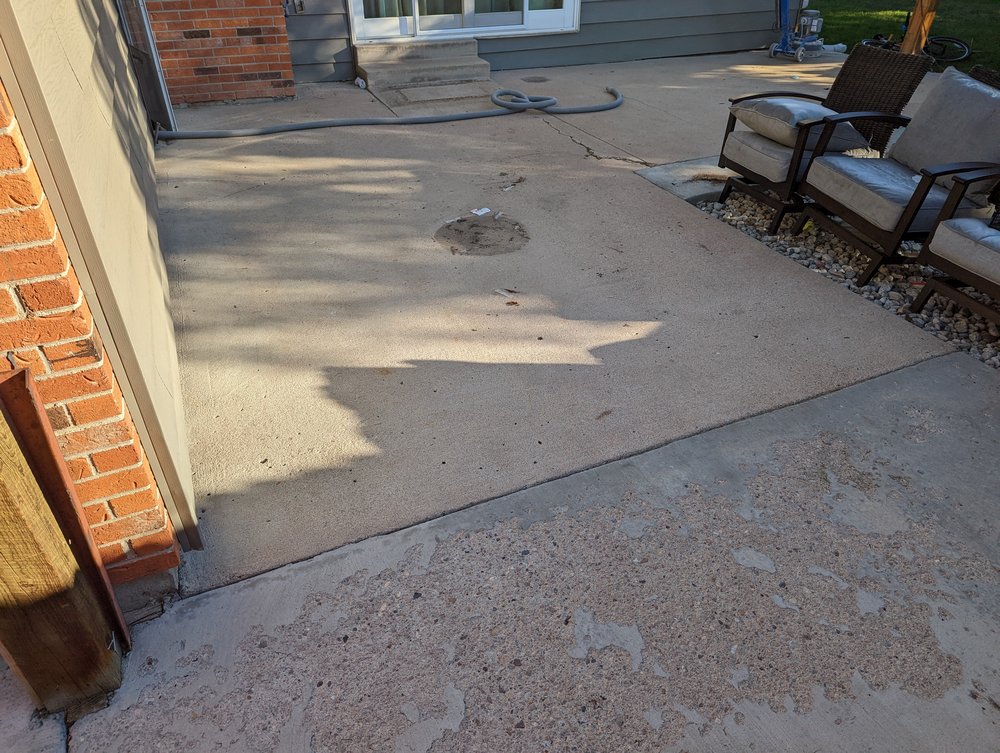
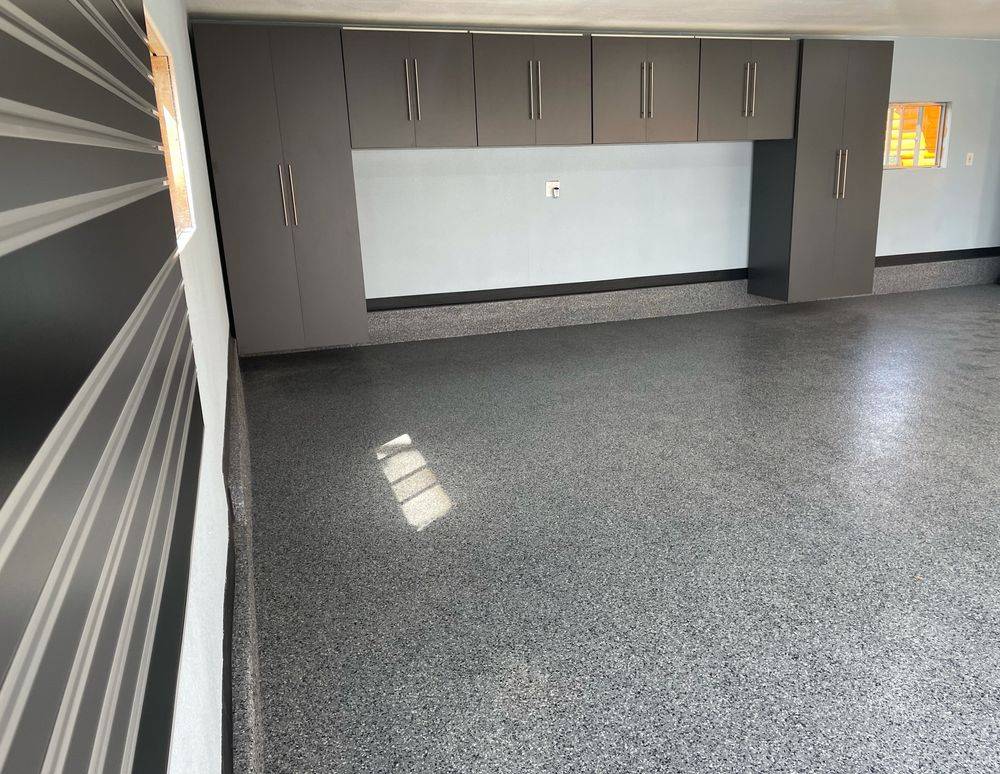
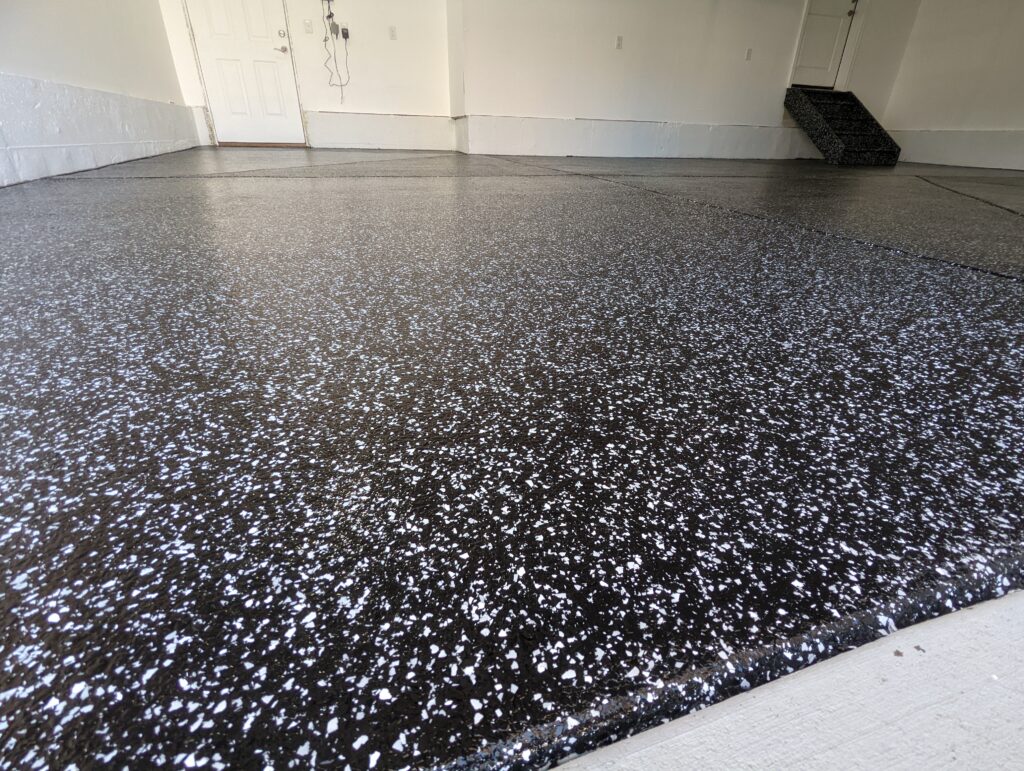
Explore Our Recent Projects
EXCELLENTTrustindex verifies that the original source of the review is Google. Excellent result! We love our new garage floor. The products used are high quality and the process was very thorough. I appreciate the efficient communication and no surprise quote! Highly recommend NuWave Epoxy Flooring!Posted onTrustindex verifies that the original source of the review is Google. Best service, communication and craftsmanship!! Brittany and Austin were knowledgeable, professional and easy to work with. I highly recommend this company!!Posted onTrustindex verifies that the original source of the review is Google. Incredible experience from start to finish. Brittany and Austin were both a pleasure to work with. We love our new garage floor. Thank you!Posted onTrustindex verifies that the original source of the review is Google. Austin and his team were exceptional in their responsiveness. They methodically scheduled and executed a commercial business application while accommodating an open/ongoing business during construction. They were prompt, reliable and reasonable. Austin takes great pride in his work for good reason!Posted onTrustindex verifies that the original source of the review is Google. NuWave did an excellent job on my garage floor.Posted onTrustindex verifies that the original source of the review is Google. We had NuWave Garages Epoxy Flooring... Do our garage floor and the results are amazing! We chose the Creekbed finish and I would highly recommend it. The husband and Wife team couldn't have been nicer to work with - Super Professional... Responsive... And detail oriented. Their pricing was competitive... But what stood out was their level of communication and coordination... I would 100% recommend using them.Posted onTrustindex verifies that the original source of the review is Google. ⭐️⭐️⭐️⭐️⭐️ NuWave polyaspartic coating did a tremendous job on my front patio! From start to finish, they were prompt, professional, and incredibly easy to work with. Everything went off without a hitch, and the finished product looks fantastic. Highly recommend them for anyone looking to upgrade their concrete surfaces!Posted onTrustindex verifies that the original source of the review is Google. Austin with NuWave was terrific! We love our new garage floors! I highly recommend this company if you're thinking about getting your garage floors done.Posted onTrustindex verifies that the original source of the review is Google. Nu Wave is absolutely awesome. Great service, excellent customer care, Very fair and reasonable pricing, You won’t go wrong by calling and hiring Nu Wave Garages. Thank you very much to Brittany and Austin.Posted onTrustindex verifies that the original source of the review is Google. AJ and his team are amazing. Incredibly punctual, communicative, and accommodating. Easy to schedule, meet up to go over options, pay, and work together. The final product was gorgeous, they helped transform the garage of my first home from needs love, to a beautiful protected floor in a few days. I purchased my first home and before we moved in we wanted to finish the hardwood floors and the garage floors so we didn't have to worry about a thing. AJ was able to recommend the correct garage flooring, provided tons or options for the colors, and lastly was very pleasant and a good guy to be around. We will be telling all our friends if they want this done, go through Nuwave Garage Flooring.Verified by TrustindexTrustindex verified badge is the Universal Symbol of Trust. Only the greatest companies can get the verified badge who has a review score above 4.5, based on customer reviews over the past 12 months. Read more